
Installing a dash camera in your vehicle is a wise decision that enhances your safety and security on the road. Dash cameras, or dash cams, record everything that happens while you drive, providing invaluable evidence in case of accidents or disputes. If you’ve recently purchased a dash camera and are wondering how to install it, this guide will walk you through the process step-by-step.
Why Proper Installation Matters
Before diving into the installation process, it's essential to understand why proper installation is crucial. A well-installed dash camera ensures:
Optimal Recording: Captures the best possible footage without obstructions.
Safety: Prevents the camera from becoming a distraction or hazard while driving.
Durability: Ensures the camera remains securely in place over time.
Tools and Materials Needed
To install your dash camera, you’ll need the following tools and materials:
- Dash camera with mounting kit
- MicroSD card (if not included)
- Car charger or hardwiring kit
- Trim removal tool
- Cable clips or adhesive tape
- Cleaning cloth
- Power cable
- User manual
Step-by-Step Installation Guide
1. Choose the Right Location
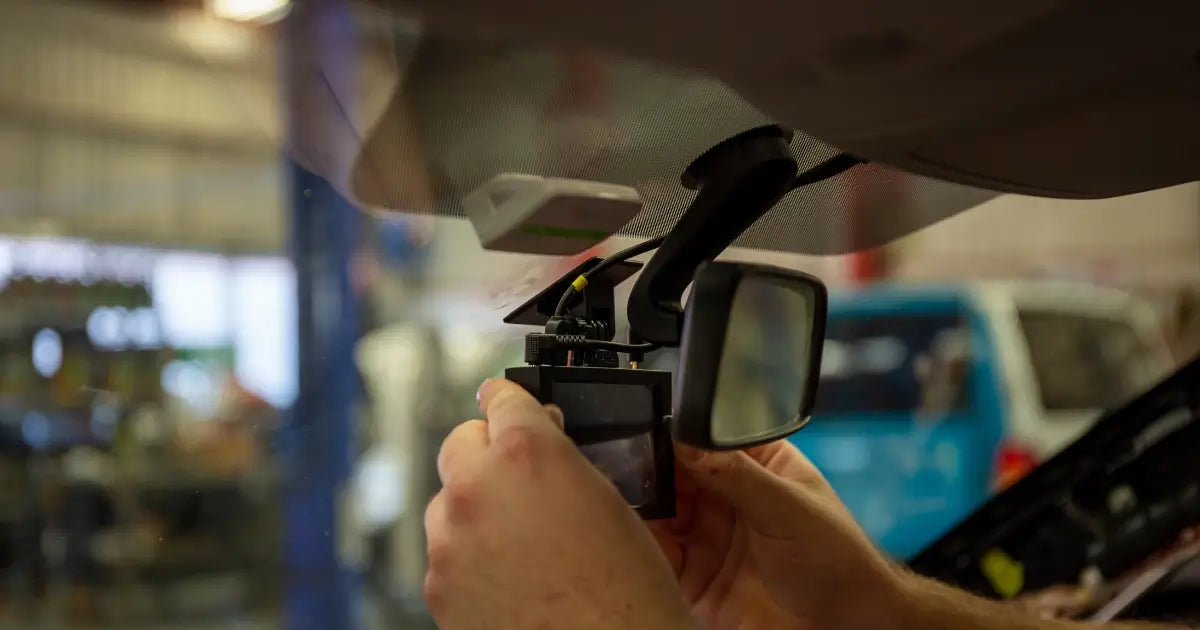
The first step is selecting the best location for your dash camera. Ideally, place it behind the rearview mirror, slightly to the passenger side. This position offers a clear view of the road without obstructing your line of sight.
2. Prepare the Windshield
Clean the area where you’ll mount the dash camera using a cleaning cloth. Removing any dust or grease ensures that the adhesive mount will stick firmly to the windshield.
3. Mount the Dash Camera
Attach the dash camera to the mounting bracket, then peel off the adhesive backing. Press the mount firmly onto the windshield in the chosen location. Hold it in place for a few seconds to ensure a secure bond.
4. Route the Power Cable
Carefully route the power cable from the dash camera to the power source. There are two primary methods for powering your dash camera:
Using the Car Charger: Plug the power cable into the car charger and insert it into your vehicle’s 12V socket. Tuck the cable along the edge of the windshield, down the A-pillar, and under the dashboard to keep it out of sight.
Hardwiring to the Fuse Box: For a cleaner look and continuous power, use a hardwiring kit to connect the dash camera directly to the fuse box. This method requires more effort but is ideal for advanced users.
5. Secure the Cable
Use cable clips or adhesive tape to secure the power cable along its route. This prevents the cable from dangling and becoming a distraction. Ensure that the cable does not interfere with any airbags or moving parts.
6. Insert the MicroSD Card
If your dash camera did not come with a pre-installed MicroSD card, insert one into the camera’s slot. Refer to the user manual for the recommended capacity and format requirements.
7. Adjust the Camera Angle
Turn on the dash camera and check the live view on the screen or mobile app. Adjust the camera angle to ensure it captures a clear and level view of the road ahead. Most dash cameras have a ball-and-socket joint that allows for easy adjustments.
8. Test the Installation
Before hitting the road, test the installation to ensure everything is working correctly. Start your vehicle to see if the dash camera powers on automatically. Check the recording to confirm that the footage is clear and unobstructed.
9. Configure Settings
Access the camera’s settings menu to configure essential options such as date and time, resolution, and loop recording. Refer to the user manual for specific instructions on adjusting these settings.
10. Regular Maintenance
To ensure your dash camera continues to function correctly, perform regular maintenance checks. Clean the camera lens periodically, format the MicroSD card monthly to prevent data corruption, and update the firmware as needed.
Tips for Optimal Dash Camera Performance
Use High-Quality Accessories: Invest in a high-quality MicroSD card and power cables to avoid performance issues.
Avoid Extreme Temperatures: Remove the dash camera during extreme weather conditions to prevent damage.
Know Your Local Laws: Familiarize yourself with local regulations regarding dash camera usage to ensure compliance.
Conclusion
Installing a dash camera is a straightforward process that can be completed with minimal tools and effort. By following this step-by-step guide, you’ll ensure your dash camera is installed correctly, providing you with reliable footage and peace of mind on the road. Whether you’re a seasoned driver or new to dash cams, proper installation is key to maximizing the benefits of this essential device.